Index:
At 50watts, the D710 pulls 9.5amps at 13.8volts (the standard voltage of a mobile radios). That's a lot of voltage and current and the classic installation method to handle that kind of power is to run VERY heavy gauge wire from the car's main battery to the radio. That installation type turned me off for several reasons:
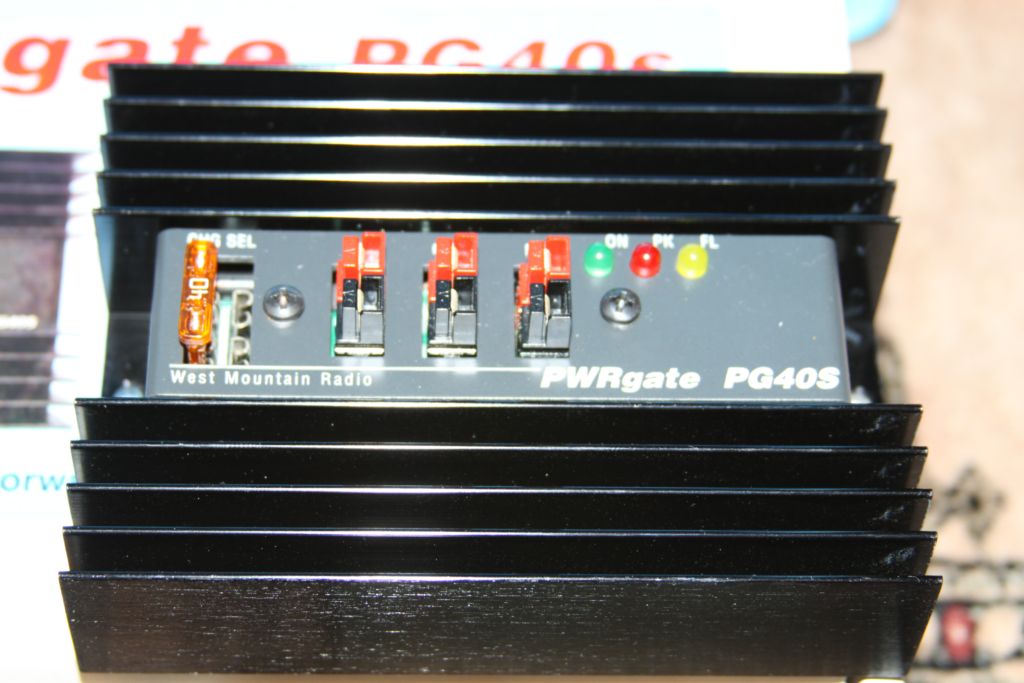
The design in this page meets all those objectives and then some but it's turning out to be an EXPENSIVE proposition! Why? The design connects the radio to 24Ah of battery capacity where it can pull the required current as needed when the PTT is asserted. When I let go of the radio's PTT, the charging system starts recharging the batteries. There are four significant complications when adding batteries to the design: Buying the batteries (their type), charging/isolation, source voltage and avoiding over discharging the batteries.
Here is the entire parts and tool list required to build all this out:
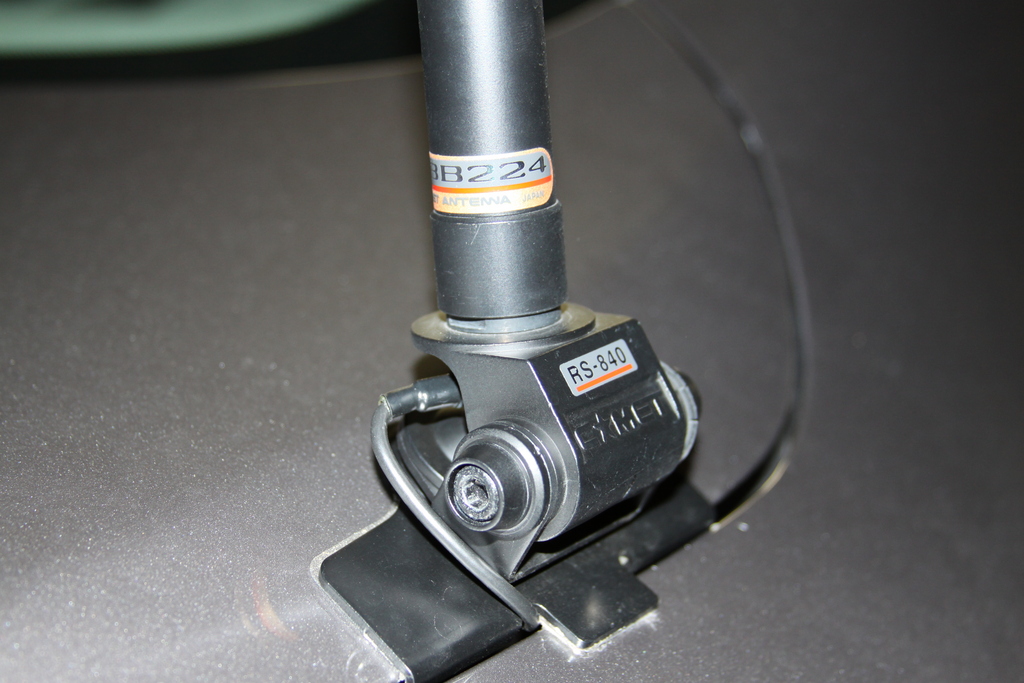
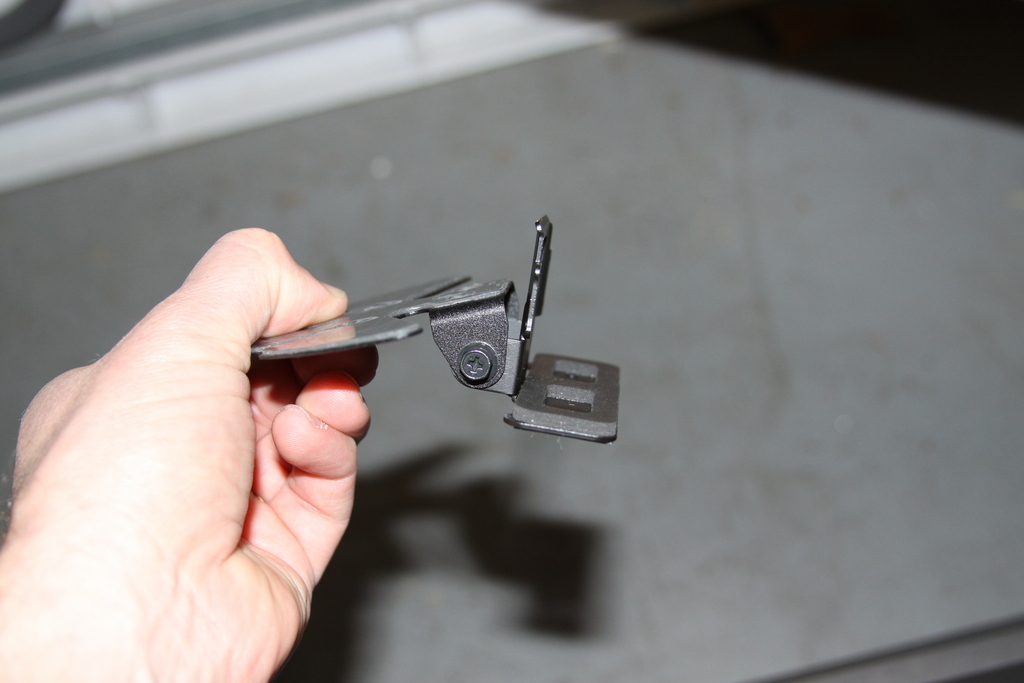
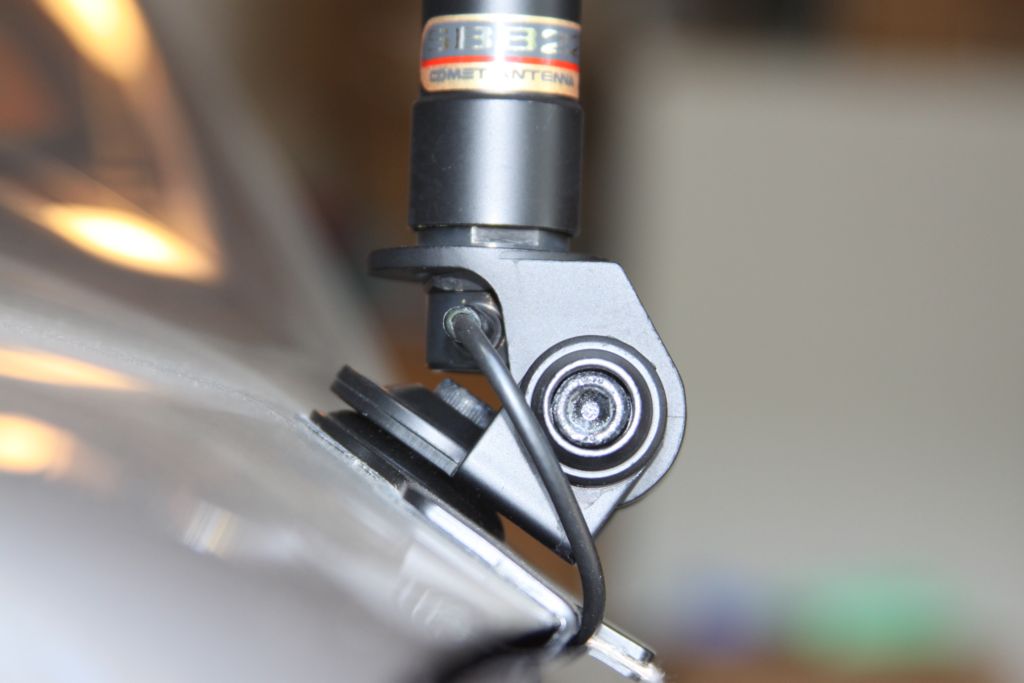
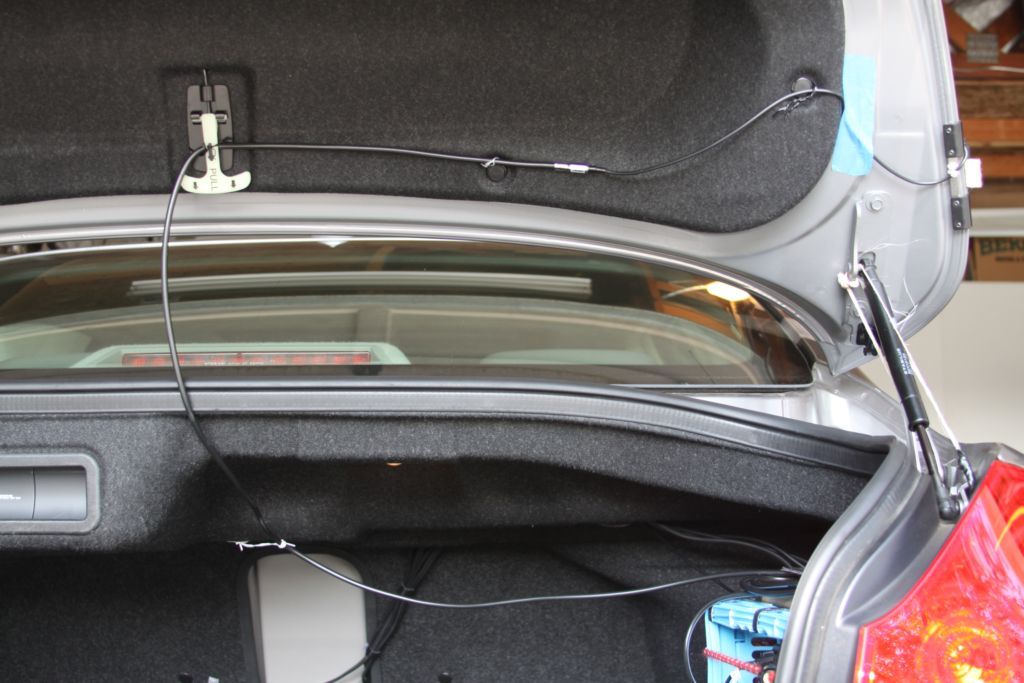
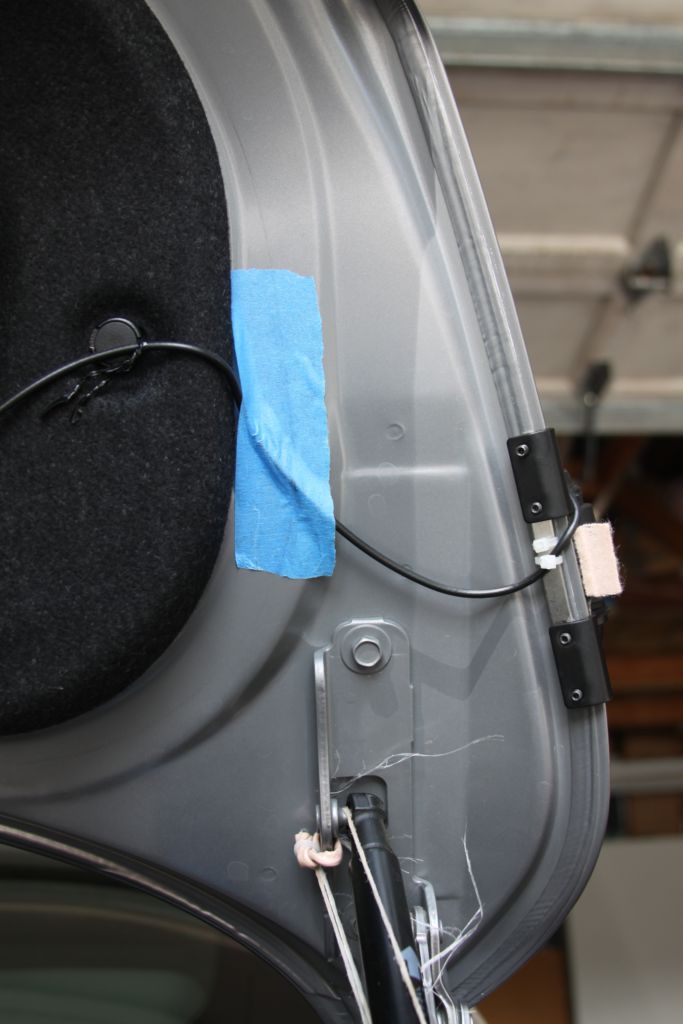
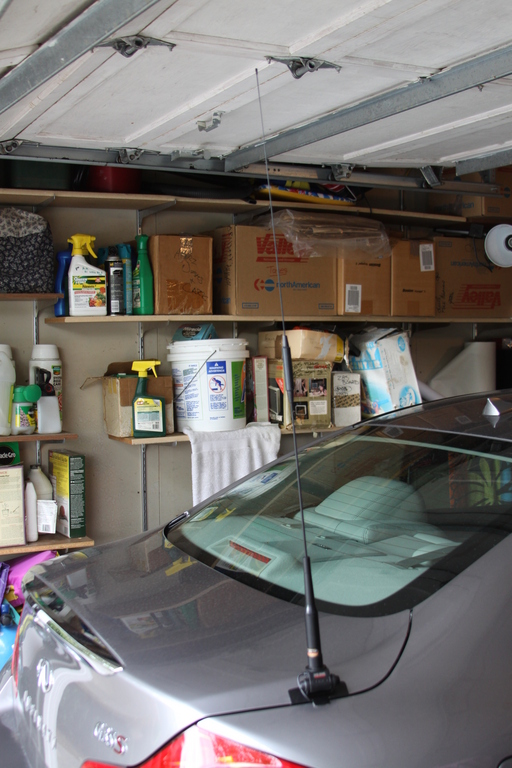
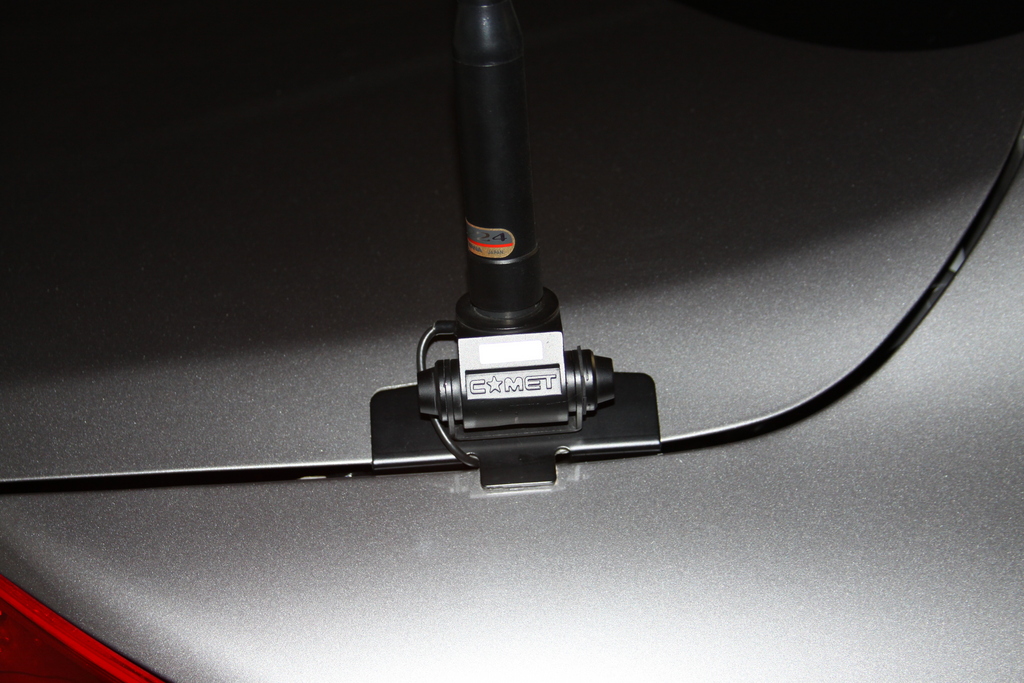
As you would imagine, many people think that antennas are ugly, unsightly, etc. I agree to a point but it depends on the specific antenna you select. Personally, I think some of them can look pretty cool! Then again, I'm biased. Hi Hi. For example, I saw an Inifiniti G35 coupe with something similar to a Comet EM-5M mount installed on the top-middle of the trunk lid right next to the rear-view window glass. With his mount and the placement of it, no doubt he would get the best ground reflection compared to my chosen location but 1) I personally thought it looked pretty bad and 2) when he wanted to open the trunk, he'd need to remove the attenna first! No thanks! I personally chose the Comet HD-5M kit which uses the low profile RS-840 mount and comes with a PL-239 connector and some thin, low-loss coax to easily pass by the trunk seal. You might be asking why I chose a heavy duty mount. There is NO way I want this mount to fall off and be flapping around in the wind on the freeway! Imagine the damage that would cause. Skimping on the mount is a bad idea if you ask me!
Properly installing the antenna mount:
First, loosen up the large HEX bolt just enough to be able to move the antenna to be fairly vertical when the trunk is closed. Now again slowly open the trunk and finely adjust the angle so that the tip of the antenna wants to just start touching the top of the rear passenger side window when mostly open. That's my personal preference where to put my antenna angle but you might want to angle it out even more just in case the antenna does want to touch/scratch the side of the car. So go ahead and tighten up the mount's large angle HEX bolt but also pay attention that the coax connector doesn't hit the bottom hex nut
In the antenna selection, I had to consider a few things:
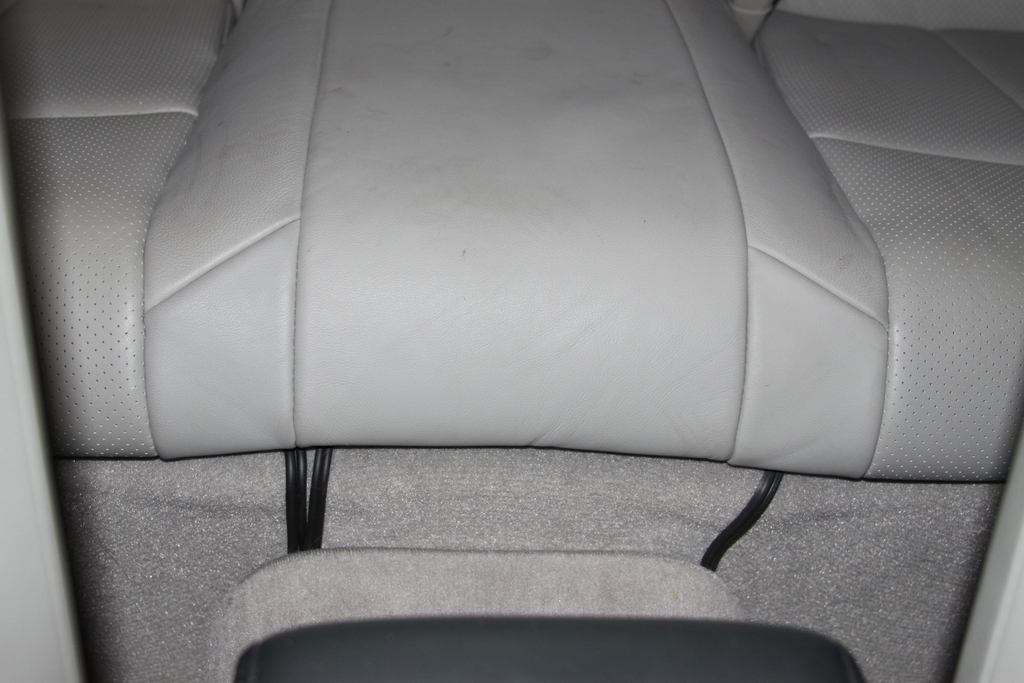
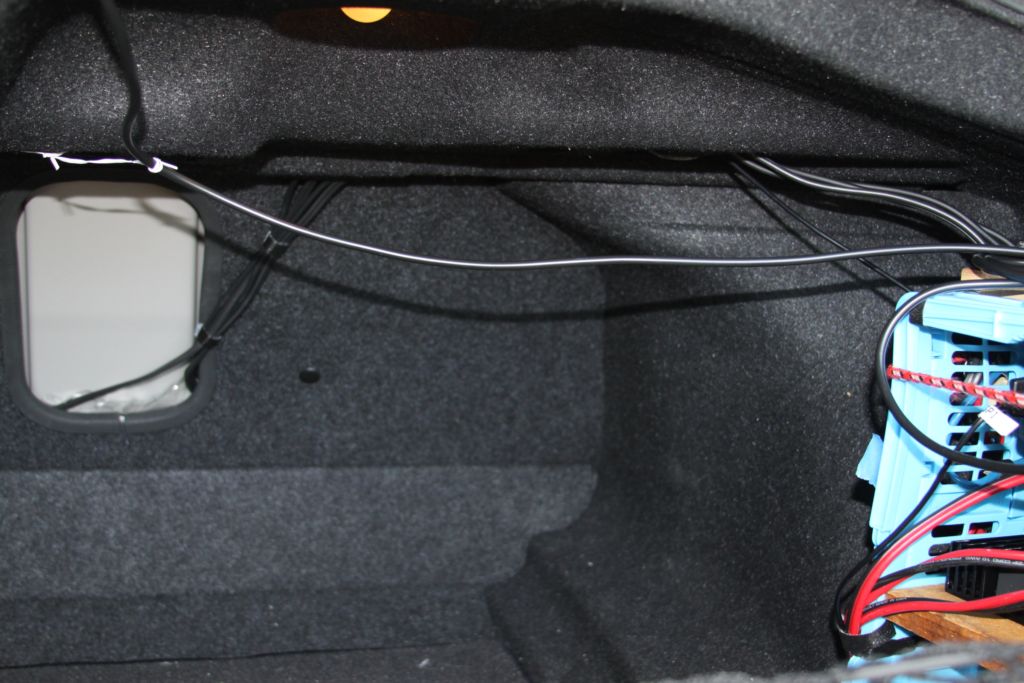
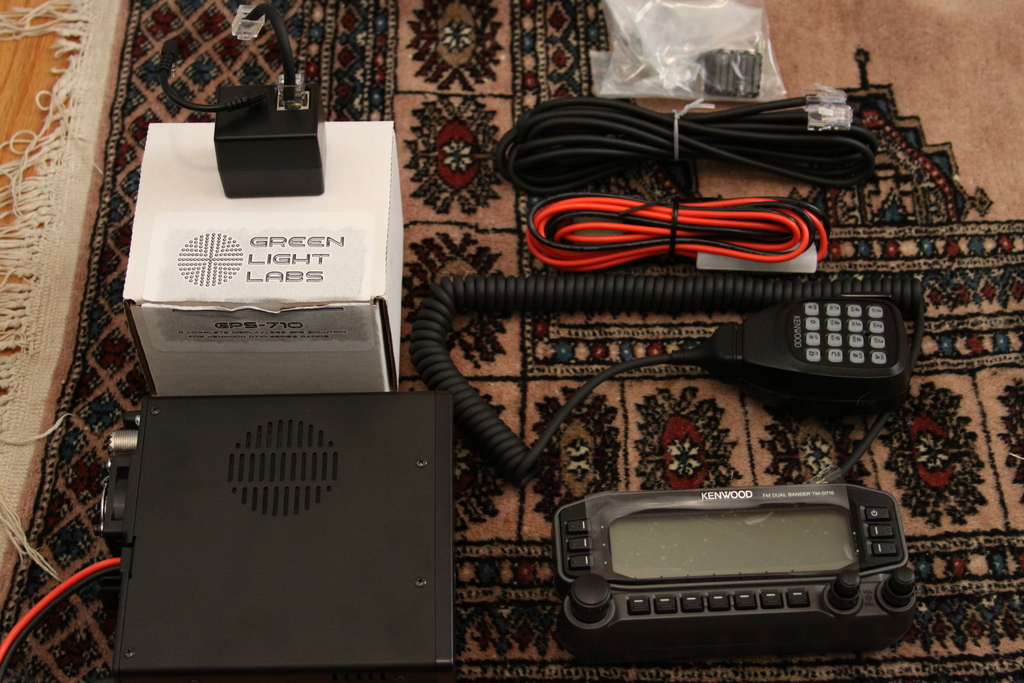
This setup has several wires going to the trunk: R710 head, microphone, RCA audio, and 12v DC drop. All of the cables that I've used come STOCK with the D710 radio. I did NOT buy the Kenwood cable extension kit as there is no need. All the stock cables reach just fine!
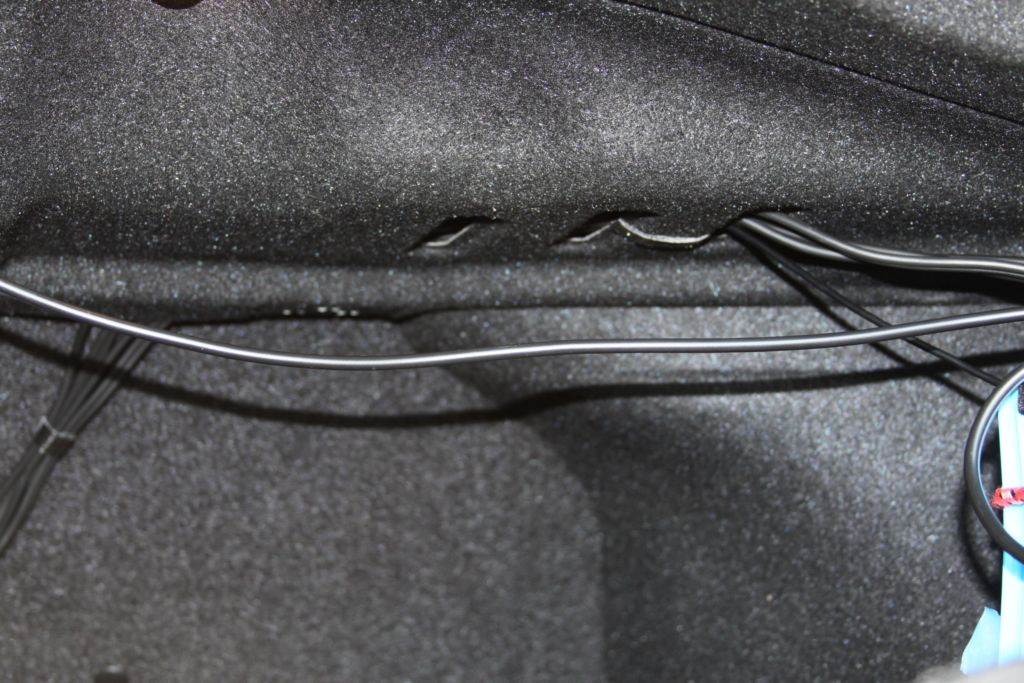
Above, you are looking at the end of the center console back to the middle of the rear seat. Of the two cable bundles going to the trunk, you can only see 1" section of each wire bundle. This is just below the rear seats and above the carpet. If you look closely, from left to right, you can see the MIC cable, the HEAD cable, the audio cable on one side and then the power cable run on the other side. This was intentional to give a little separation if there was going to by any DC noise issues.
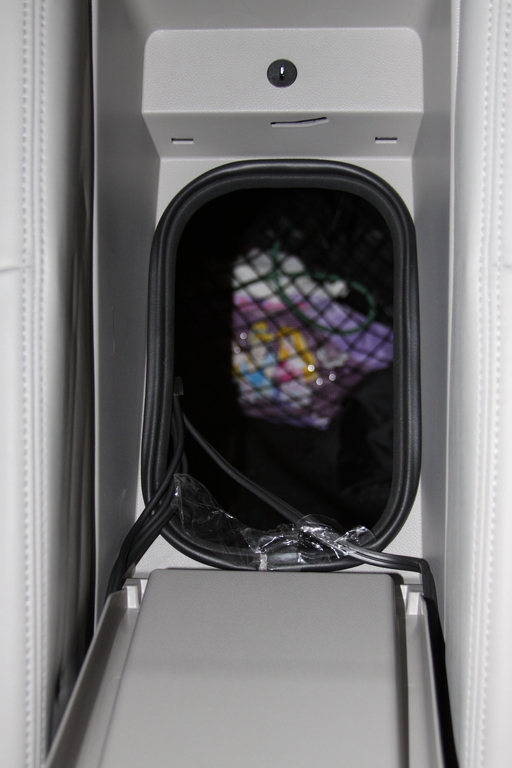
Above, you can see the only holes I drilled into the center console using the 1/2 drill bit . The cables from the trunk come into here under the carpet, then I tucked the wires under the side of the center console's plastic, and then routed the wires up and into it (was a pain but it was worth it.
BEWARE: When trying to route the cables from the trunk into the center console, there is a metal bracket just behind the ash tray on the rear of the center console. On my G35, that metal has VERY SHARP edges. Try to avoid cutting yo your hands as much as I did!.
Above, you can see the following:
WARNING: the cigarette adapter I bought only has a single connector to the ground side and even after adding a bit of electrical tape around the circumference of the adapter, the ground connection STILL pretty poor. I recommend you look for a solder-style cigarette adapter that has 2+ connectors on it. If you find one, please email me!
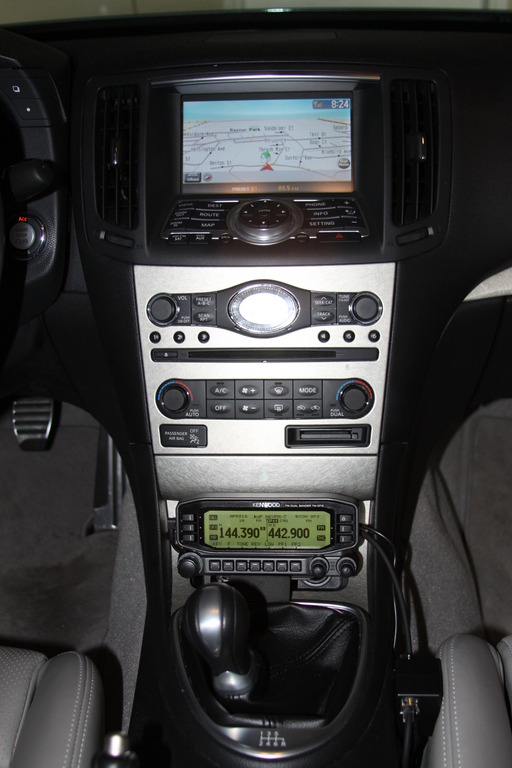
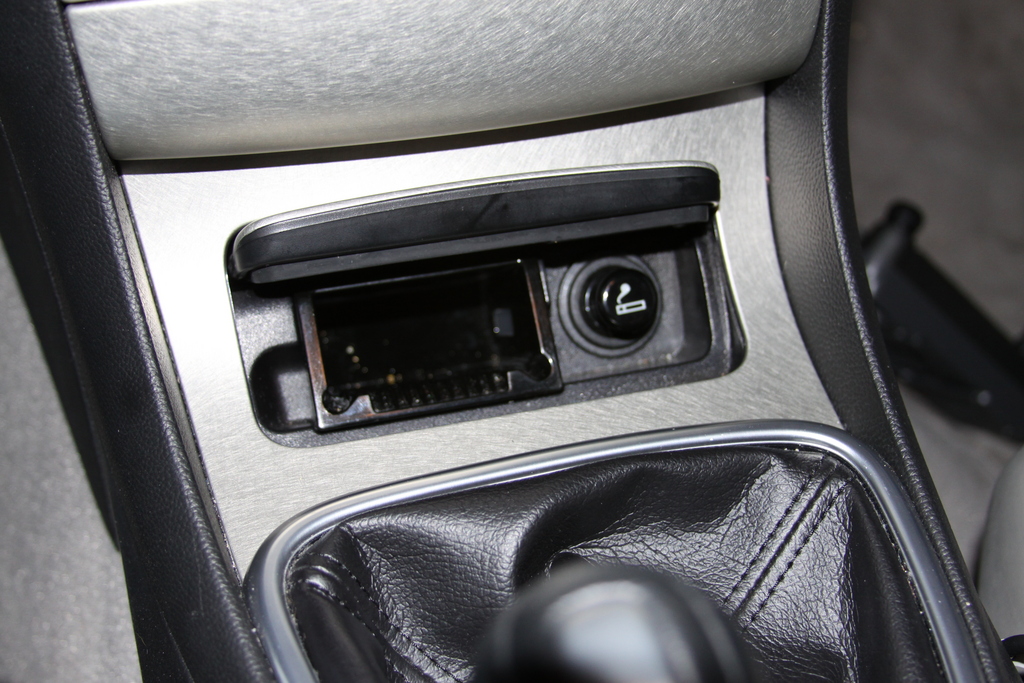
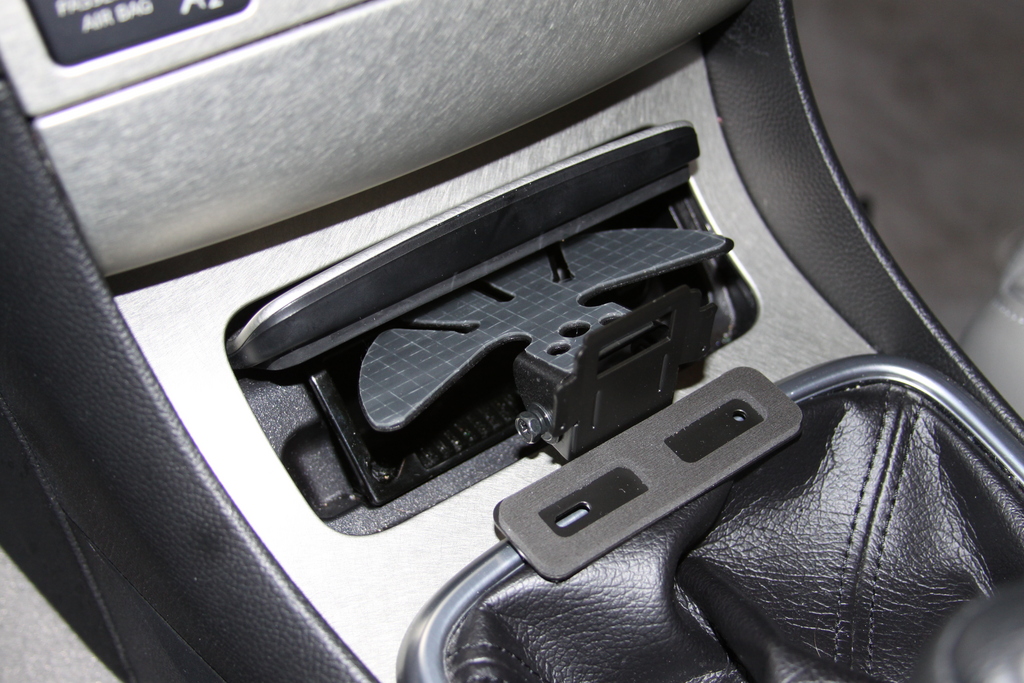
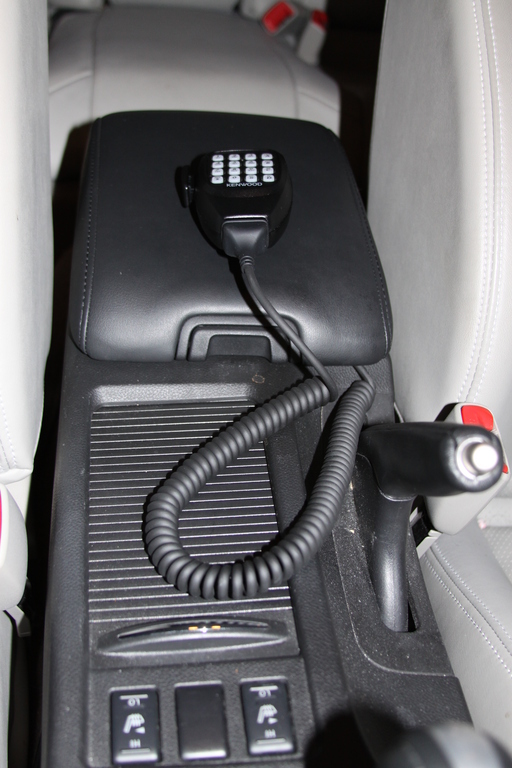
Another requirement for this setup is to be able to remove the R710 head for theft prevention. I needed it to be easily removed but have the head in a position that I can use the radio without distracting my while driving.
I figured out a slick and cheap (as in free) trick for this environment by taking the D710's included mounting plate that's intended to permanently screw down the R710 to some surface. Flip the mount over and screw it into the usual backing plate the snaps into the back of the radio's head. With that done, it just slides in nicely between the dash door and the ash tray! No screws!
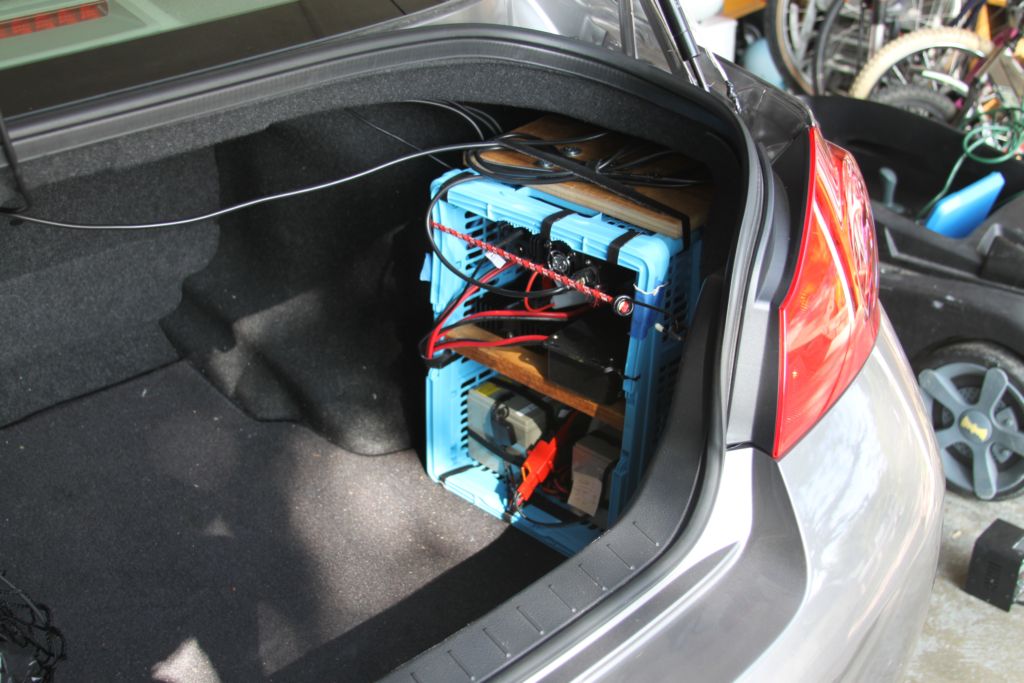
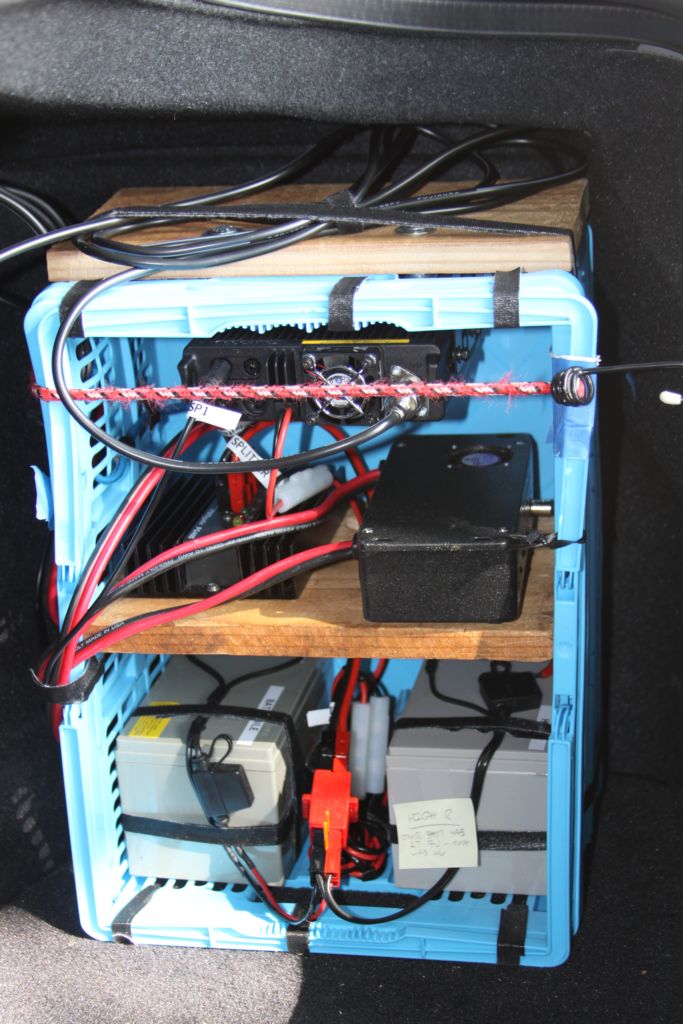
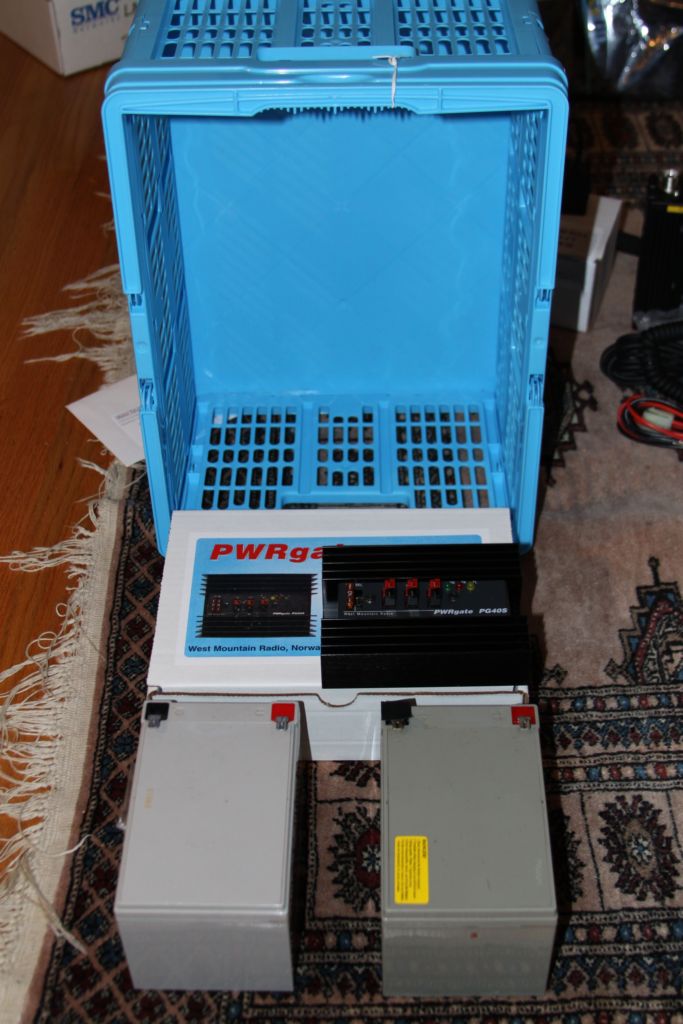
The primary reason for the use of a plastic crate is because it fit perfectly into the little corner of the trunk. I really didn't want to scrifice a lot of trunk space for this project. The Crate and Barrel unit fit perfectly!
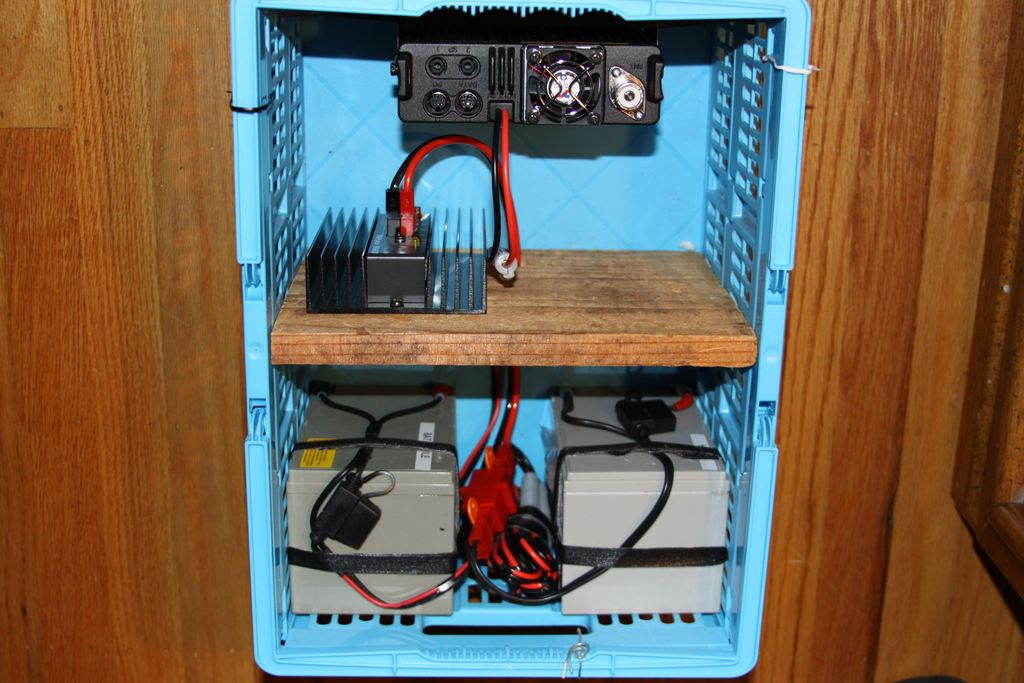
Here is an older shot of the bare plastic crate, the West Mountain Powergate PG40S, and the old TR12-12 (12volt 12aH) batteries
This project had a few goals:
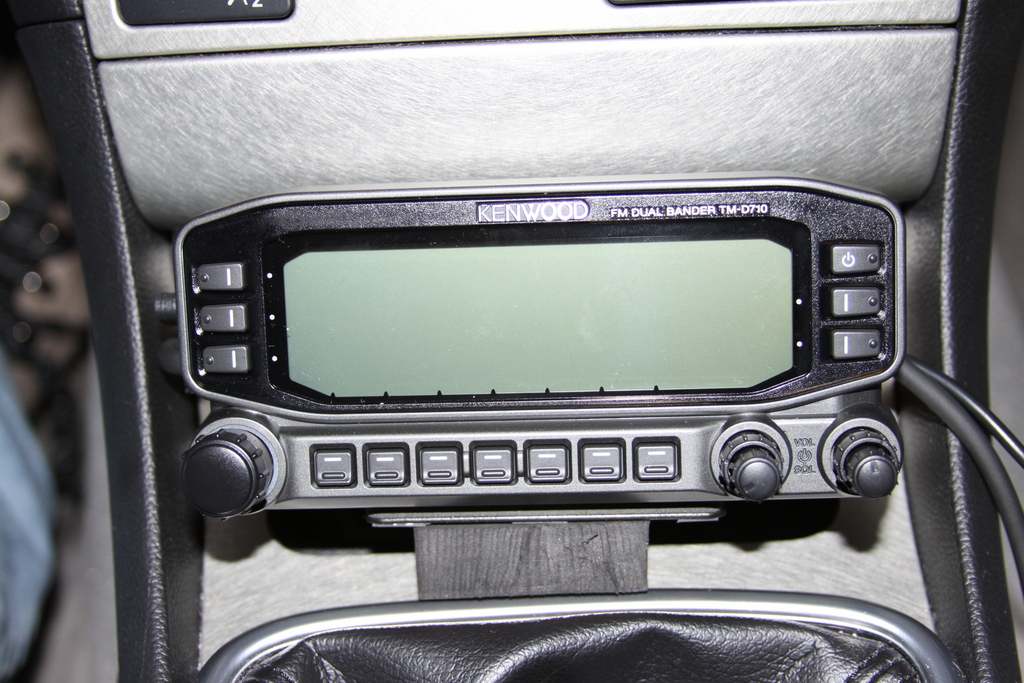
Radio Selection: Kenwood TM-D710 vs. Yaesu FT-350R
Starting out, I chose to go with a Kenwood D710. Why the older D710 say over a much newer Yaesu FT-350R? Though the FT-350R is nice and even supports more HAM bands, I feel the Kenwood still trumps it for the following reasons:
What's up with the batteries?
Parts list:
Radio:
G35 Antenna mount:
G35 Antenna:
Next, the Comet lip-mount and Comet 2m/220/440 mobile antenna. I just wish the D710 had 220Mhz support too due to all the PavePAWS issues here in the Bay Area!! Oh well. That's one place where the Yaesu FT-350 radio would be nice. Some 220 power is better than none!
Cable Routing:

R710 Head mounting
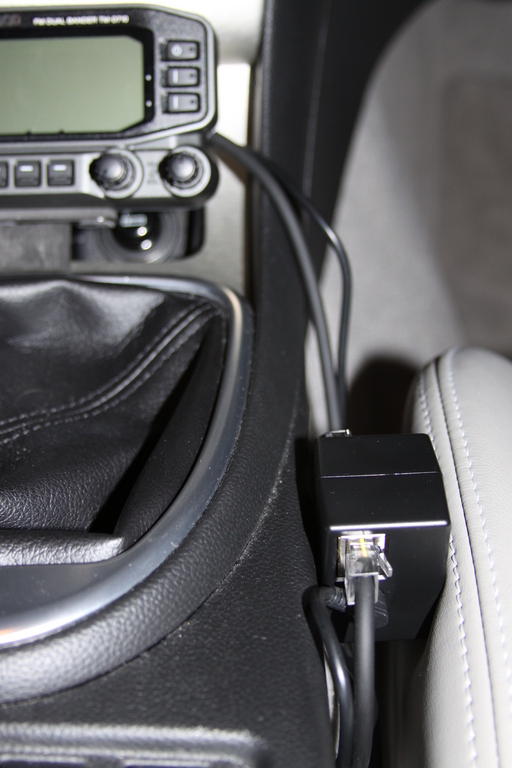
One thing to note: I used the original GreenLIght Labs 3" RJ45 cable included with the GPS receiver to go between the the GPS receiver and the RJ45 barrel that then connects to the long RJ45 cable back to the D710 radio. Why? Every time I get out of the car, I remove the R710 head and GPS receiver. That's a lot of connects/disconnects and eventually, the little plastic tab on the that little 3" cable's RJ45 connector will break. I rather have that short / cheap cable break than the long cable which would require me to re-run that long RJ45 cable. NO THANKS!
Radio Crate Assembly:
BAD NEWS: Update on using a plastic crate:
That's it and the crate installation is DONE!
Looking at the final Radio crate assembly pictures:
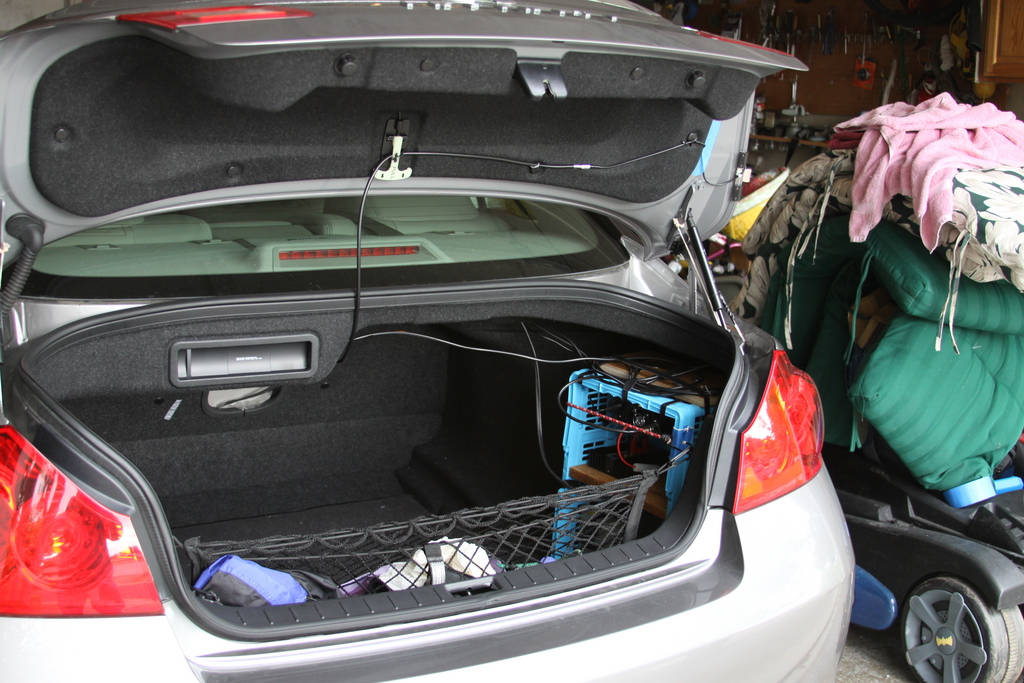
Here is the lugable installed in the G35's trunk